Step-by-Step: Building a Rockery in Your Backyard
Introduction
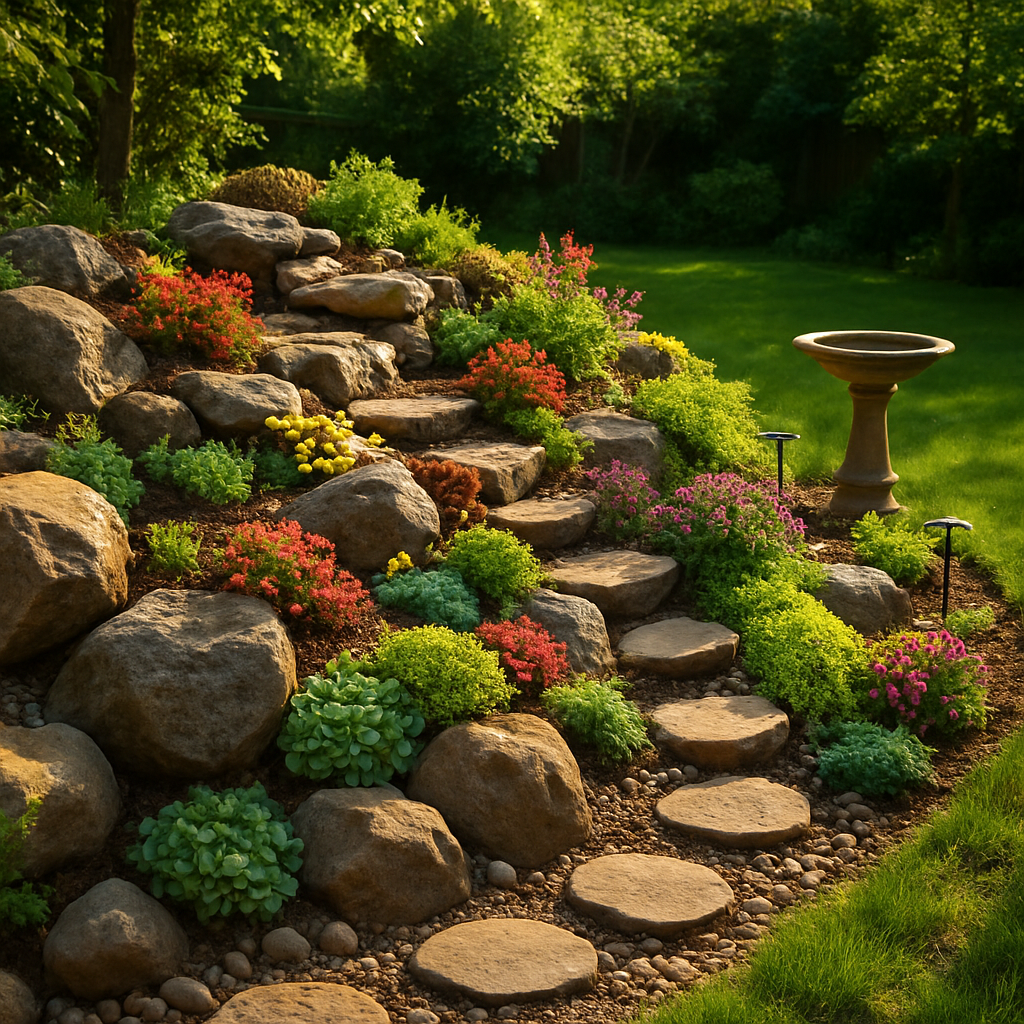
A rockery isn’t just a pile of stones—it's a sculptural celebration of nature’s quiet drama. Combining form and function, rockeries create miniature alpine landscapes, desert scenes, or native plant sanctuaries that breathe life into otherwise forgotten corners. Whether you’re dealing with a sun-drenched slope or a shady nook, a well-designed rockery can transform your outdoor space into a living work of art that shifts subtly with the seasons.
Planning Your Rockery Project
Before hauling in any boulders, step back and imagine the end result. What feeling do you want your rockery to evoke—serene and structured, wild and whimsical, or a naturalistic blend?
Choosing the Right Location
Select a site with good drainage and visibility. Slopes are ideal, but even flat areas can be shaped to create elevation and interest. Consider light conditions—full sun or partial shade will affect your plant choices.
Sketching the Design and Defining the Purpose
Create a rough drawing of your rockery layout. Will it be a focal point? A border feature? Are you aiming for a drought-tolerant garden, a pollinator haven, or pure aesthetics? Clarity here sets the tone for every next step.
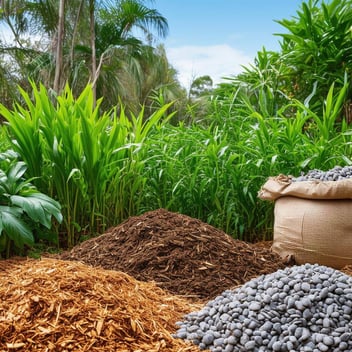
Gathering Materials and Tools
Selecting Rocks and Boulders
Choose rocks with character—lumpy, pitted, weathered stones add authenticity. A mix of sizes, from hand-sized to wheelbarrow-worthy, allows for natural-looking variation. Use local stone where possible for regional cohesion.
Essential Tools and Soil Amendments
You’ll need a sturdy shovel, wheelbarrow, crowbar (for heavy lifting), gardening gloves, and possibly landscape fabric. Consider amendments like coarse sand, compost, and gravel for soil enhancement.
Preparing the Site
Clearing and Levelling the Area
Remove grass, weeds, and debris. Mark out the boundaries with a hose or twine. Level the base, or sculpt in terraces if working on a slope.
Creating a Solid Base for Drainage
Add a layer of gravel or crushed stone 10–15 cm deep to prevent waterlogging. Compact it with a tamper or your own weight, ensuring a firm foundation.
Placing Rocks with Purpose
Anchoring with Large Stones
Start with your largest rocks. These will anchor the design both structurally and visually. Set them partially into the ground—at least one-third buried—for stability and to mimic nature.
Building Layers and Creating Visual Flow
Layer smaller rocks around the anchor stones, keeping textures and tones consistent. Avoid symmetry. Tilt flat stones slightly backward to retain soil and frame planting pockets.
Soil Preparation for Rockery Success
Crafting the Right Mix for Drainage and Plant Health
Mix garden soil with sand and compost in roughly equal parts. This combination ensures free drainage while retaining enough moisture and nutrients.
Filling and Mounding Techniques
Backfill the rock crevices, mounding soil around key stones. Create soft gradients and dips—this not only looks natural but offers microclimates for different plant needs.
Choosing and Planting Rockery Plants
Selecting Plants for Texture, Colour, and Climate
Opt for drought-tolerant, compact plants that suit your climate and rockery conditions. Top choices include succulents, native grasses, small flowering perennials, creeping groundcovers, and low shrubs.
Examples for Queensland include:
-
Grevillea lanigera – compact native with soft foliage and bird-attracting flowers
-
Sedum spp. – low-growing succulents in a range of hues
-
Lomandra – hardy strappy foliage for structure
-
Scaevola – trailing flowers ideal for softening edges
Placement Strategies for Impact and Longevity
Plant in odd-numbered groups for a natural look. Place taller plants toward the back or top, and cascading ones along the front or edges. Leave space for growth and airflow.
Finishing Touches
Mulching, Watering, and Decorative Enhancements
Use fine gravel or crushed rock as mulch to suppress weeds and retain moisture. Water new plantings deeply. Add decorative touches like driftwood, a dry creek bed of river stones, or solar-powered lights for nighttime magic.
Adding Paths, Pebble Accents, and Wildlife Features
Create stepping-stone paths through or around the rockery. Scatter smooth pebbles in void spaces. Incorporate a birdbath, bee hotel, or frog-friendly pool to boost biodiversity.
Caring for Your Rockery Over Time
Seasonal Maintenance Tips
Remove dead foliage and lightly prune in autumn. Replenish mulch annually. Check for settling stones or soil erosion after heavy rains.
Managing Weeds, Pests, and Erosion
Hand-weed regularly—rockeries make this easy. Use non-toxic pest deterrents if necessary. For erosion, recompact soil or use additional rocks to create terraces or buffers.
Conclusion
Building a rockery is a meditative blend of hardscape and horticulture—a dance between permanence and change. Once complete, it becomes a microcosm of nature, a place where stone and soil cradle resilient life. With thoughtful planning and a touch of creative flair, your backyard rockery will not only endure the seasons, but reflect the enduring rhythm of the earth itself.