DIY Irrigation System Installation: Step-by-Step Guide
Introduction
Efficient irrigation is the lifeblood of a thriving garden. Implementing a DIY irrigation system not only conserves water but also ensures your plants receive consistent hydration, promoting robust growth. Embarking on this project empowers you to tailor the system to your garden's unique needs, enhancing both sustainability and self-sufficiency.
Planning Your Irrigation System
Assessing Your Garden's Water Needs
Begin by evaluating the specific hydration requirements of your plants. Consider factors such as plant species, soil type, and sun exposure. For instance, vegetable gardens may demand more frequent watering compared to drought-tolerant ornamental plants. Understanding these nuances is crucial for designing an effective irrigation system.
Designing an Effective Layout
Sketch a detailed map of your garden, noting plant locations, pathways, and existing water sources. This blueprint will guide the placement of irrigation lines and emitters, ensuring comprehensive coverage. Strategic planning at this stage minimizes water waste and promotes uniform distribution.
Gathering Necessary Materials and Tools
Essential Components
Assemble the core elements of your irrigation system, including:
- Mainline tubing
- Lateral lines
- Emitters or sprinkler heads
- Connectors and fittings
- Backflow preventer
- Pressure regulator
Selecting high-quality materials enhances system longevity and performance.
Recommended Tools for Installation
Equip yourself with the following tools to facilitate a smooth installation process:
- Shovel or trenching tool
- Pipe cutter
- Hole punch (for emitters)
- Teflon tape
- Measuring tape
- Stakes or clamps (to secure tubing)
Having the right tools on hand streamlines the installation and ensures precision.
Preparing the Installation Site
Mapping Out the Irrigation Lines
With your garden layout in hand, mark the paths for mainline and lateral tubing. Use stakes or flags to indicate emitter placements, paying close attention to plant groupings and their respective water needs. This visual guide aids in accurate installation and prevents unnecessary disruptions to existing plants.
Ensuring Proper Soil Conditions
Before laying any pipes, assess the soil to ensure it's conducive to trenching and installation. Remove any debris or obstructions that could impede the process. Moistening the soil slightly can facilitate easier digging, but avoid oversaturation, which may lead to trench collapse.
Installing the Main Water Supply Line
Connecting to the Water Source
Begin by shutting off the main water supply to prevent any mishaps. Attach a backflow preventer to the tap or spigot to safeguard against contamination. Next, connect the pressure regulator to ensure consistent water flow, followed by a filter to trap any debris that could clog the system. Finally, attach the mainline tubing to this assembly, securing all connections tightly to prevent leaks.
Laying the Mainline Pipe
Lay the mainline tubing along the predetermined paths, ensuring it remains straight and free from kinks. Use stakes or clamps to anchor the tubing firmly in place. If trenching is required, dig trenches approximately 6-8 inches deep to protect the pipes and maintain aesthetic appeal. Once the tubing is laid, cover it with soil, leaving connection points exposed for lateral lines.
Setting Up Distribution Lines and Emitters
Installing Lateral Lines
Branch off from the mainline by connecting lateral tubing using appropriate fittings. These lines will transport water closer to individual plants or zones. Ensure that the lateral lines are appropriately sized to maintain adequate water pressure throughout the system.
Placing and Securing Emitters
At designated points along the lateral lines, use a hole punch to create openings for emitters or sprinkler heads. Insert the emitters firmly, ensuring a snug fit to prevent leaks. Position emitters near the root zones of plants for optimal watering efficiency. Secure the lateral lines and emitters with stakes to maintain their position and prevent displacement.
Integrating Control Systems
Installing Timers and Controllers
Automating your irrigation system enhances convenience and ensures consistent watering schedules. Install a timer or controller at the water source, programming it to deliver water at optimal times, such as early morning or late evening, to minimize evaporation. Advanced controllers offer features like rain sensors and seasonal adjustments, further optimizing water usage.
Configuring Automated Schedules
Set the timer to align with the specific water needs of your plants, considering factors like species, climate, and soil type. Regularly review and adjust the schedule to accommodate seasonal changes and plant growth stages, ensuring your garden receives the appropriate amount of water year-round.
Testing and Adjusting the System
Checking for Leaks and Uniform Coverage
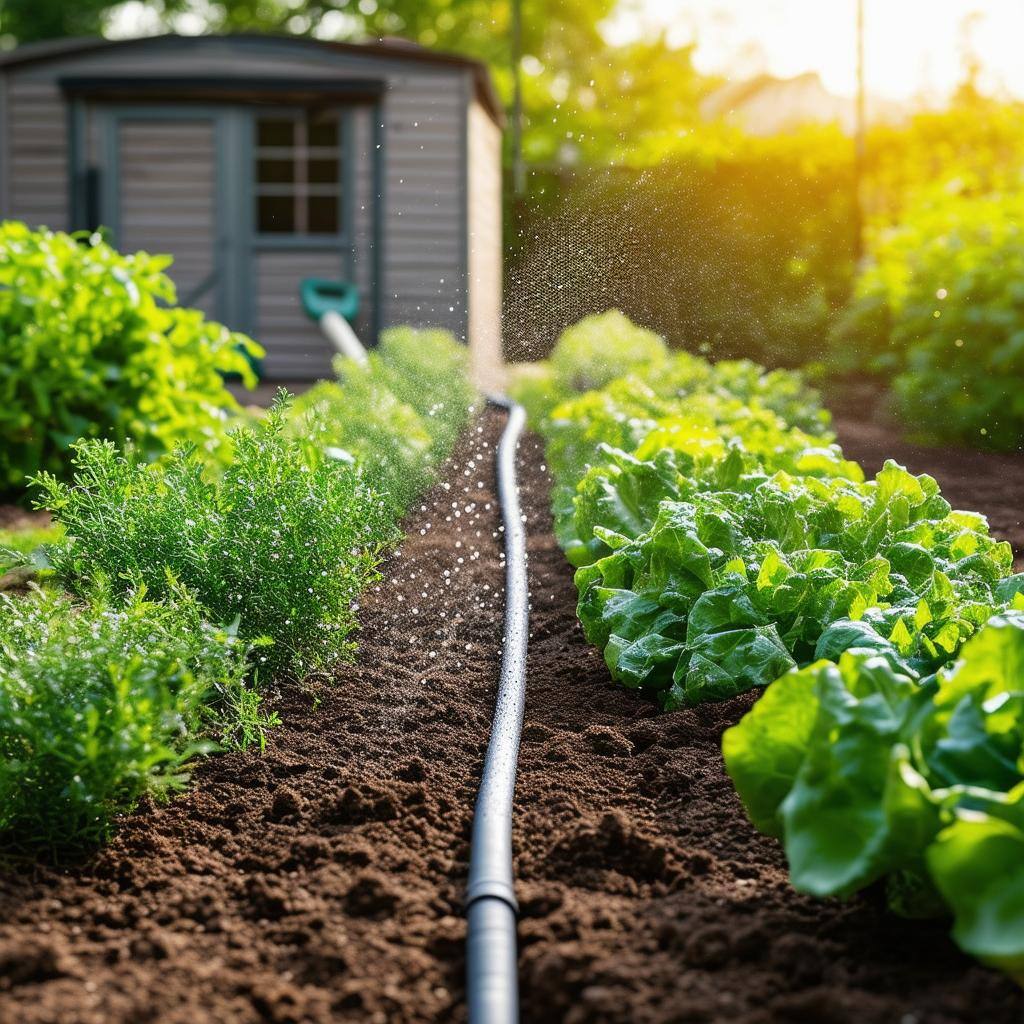
Activate your irrigation system to observe its operation. Inspect all connections, emitters, and tubing for any signs of leakage. Ensure that each emitter delivers water uniformly to its designated area. Uneven coverage can lead to dry spots or overwatered zones, both detrimental to plant health. Address any irregularities promptly to maintain system efficiency.
Making Necessary Adjustments
Fine-tune the positioning of emitters and adjust water pressure as needed to achieve optimal distribution. If certain areas receive excessive or insufficient water, consider modifying emitter flow rates or repositioning them. Regular monitoring and adjustments are essential, especially during the initial setup phase, to ensure the system meets your garden's specific hydration needs.
Maintenance and Troubleshooting
Regular System Upkeep
To prolong the lifespan and efficiency of your DIY irrigation system, implement a routine maintenance schedule. Periodically flush the system to remove any sediment or debris that may accumulate and cause blockages. Inspect filters, pressure regulators, and emitters for signs of wear or damage, replacing components as necessary. Seasonal maintenance, such as winterizing the system in colder climates, is also crucial to prevent damage from freezing temperatures.
Addressing Common Issues
Be vigilant for common problems such as clogged emitters, leaks, or pressure inconsistencies. Clogged emitters can often be cleared by soaking them in a vinegar solution to dissolve mineral deposits. Leaks may require tightening connections or replacing faulty fittings. If you experience pressure issues, verify that the pressure regulator functions correctly and that there are no obstructions in the mainline or lateral tubing. Promptly addressing these issues ensures your irrigation system operates effectively, providing your garden with the consistent hydration it needs to thrive.
By following this comprehensive guide, you can successfully install a DIY irrigation system tailored to your garden's unique requirements. Such a system promotes water conservation, reduces manual watering efforts, and supports the healthy growth of your plants. Regular maintenance and attentive monitoring will ensure its longevity and optimal performance, allowing you to enjoy a lush and vibrant garden year-round.


