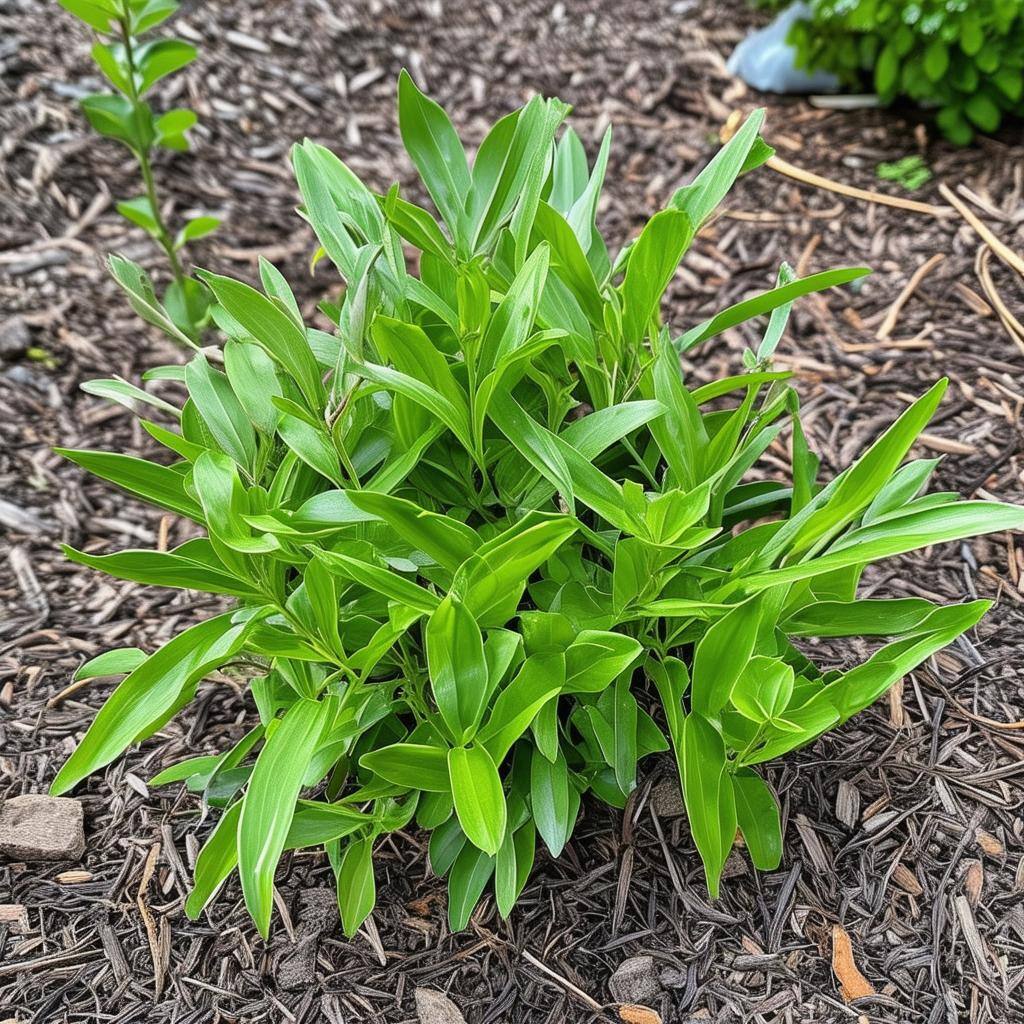
Step-by-Step Guide to Growing Native SEQ Plants from Cuttings
1. Introduction
Cultivating native South East Queensland (SEQ) plants from cuttings is a gratifying endeavor that fosters a deeper connection to the region's unique flora. This method not only preserves local plant species but also enhances garden resilience and biodiversity.
2. Selecting Suitable Native Plants
Identifying Ideal Candidates
Not all native plants are amenable to propagation via cuttings. Species such as Banksia, Callistemon (bottlebrush), Grevillea, Melaleuca (paperbark), Lomandra, and Dianella are particularly receptive to this method. These plants are well-adapted to SEQ's climate and soil conditions, making them excellent choices for propagation.
3. Timing Your Cutting Collection
Optimal Seasons for Success
The timing of cutting collection is pivotal. For many native species, the ideal period is during the active growth phase in late spring to early summer. During this time, plants exhibit vigorous growth, and cuttings are more likely to root successfully. However, specific timing can vary depending on the species, so it's essential to research individual plant requirements.
4. Preparing the Necessary Tools and Materials
Equipping Yourself for Propagation
Assemble the following tools and materials:
-
Sharp, sterilized secateurs or pruning shears to ensure clean cuts and prevent disease transmission.
-
Rooting hormone powder or gel to stimulate root development.
-
Well-draining propagation mix, such as a blend of coarse sand and perlite, to provide an optimal rooting environment.
-
Clean pots or trays with adequate drainage holes to prevent waterlogging.
-
A misting bottle to maintain humidity around the cuttings.
-
Clear plastic bags or a propagation dome to create a humid microclimate.
5. Taking and Preparing Cuttings
Executing Precision Cuts
Select healthy, non-flowering shoots approximately 10–15 cm in length. Make a clean cut just below a node (the point where leaves attach to the stem), as this is where root initiation is most likely to occur. Remove the lower leaves to expose the nodes and reduce moisture loss, leaving a few leaves at the top to sustain photosynthesis. Dip the cut end into rooting hormone to enhance root formation.
6. Planting the Cuttings
Establishing Future Growth
Insert the prepared cuttings into the propagation mix, ensuring that at least one node is buried beneath the surface. Firm the mix around the base to provide stability. Space the cuttings adequately to allow air circulation, which helps prevent fungal infections.
7. Creating the Ideal Environment
Fostering Optimal Conditions
Place the potted cuttings in a warm, bright location with indirect sunlight. Cover them with clear plastic bags or place them under a propagation dome to maintain high humidity, essential for preventing desiccation. Regularly mist the cuttings to keep the foliage hydrated, but avoid overwatering the soil to prevent rot.
8. Monitoring and Maintenance
Ensuring Successful Rooting
Check the cuttings regularly for signs of new growth, indicating successful rooting. Maintain consistent moisture in the propagation mix, but ensure it remains well-drained. Ventilate periodically to reduce the risk of fungal diseases. Once roots are established, gradually acclimate the new plants to lower humidity conditions before transplanting.
9. Transplanting Rooted Cuttings
Transitioning to the Garden
After sufficient root development, transplant the young plants into individual pots with a quality potting mix. Allow them to grow and strengthen before moving them to their final positions in the garden. Choose planting sites that mimic their natural habitats to ensure optimal growth and integration into the landscape.
By meticulously following these steps, gardeners can successfully propagate native SEQ plants from cuttings, contributing to the preservation and appreciation of the region's botanical heritage.


